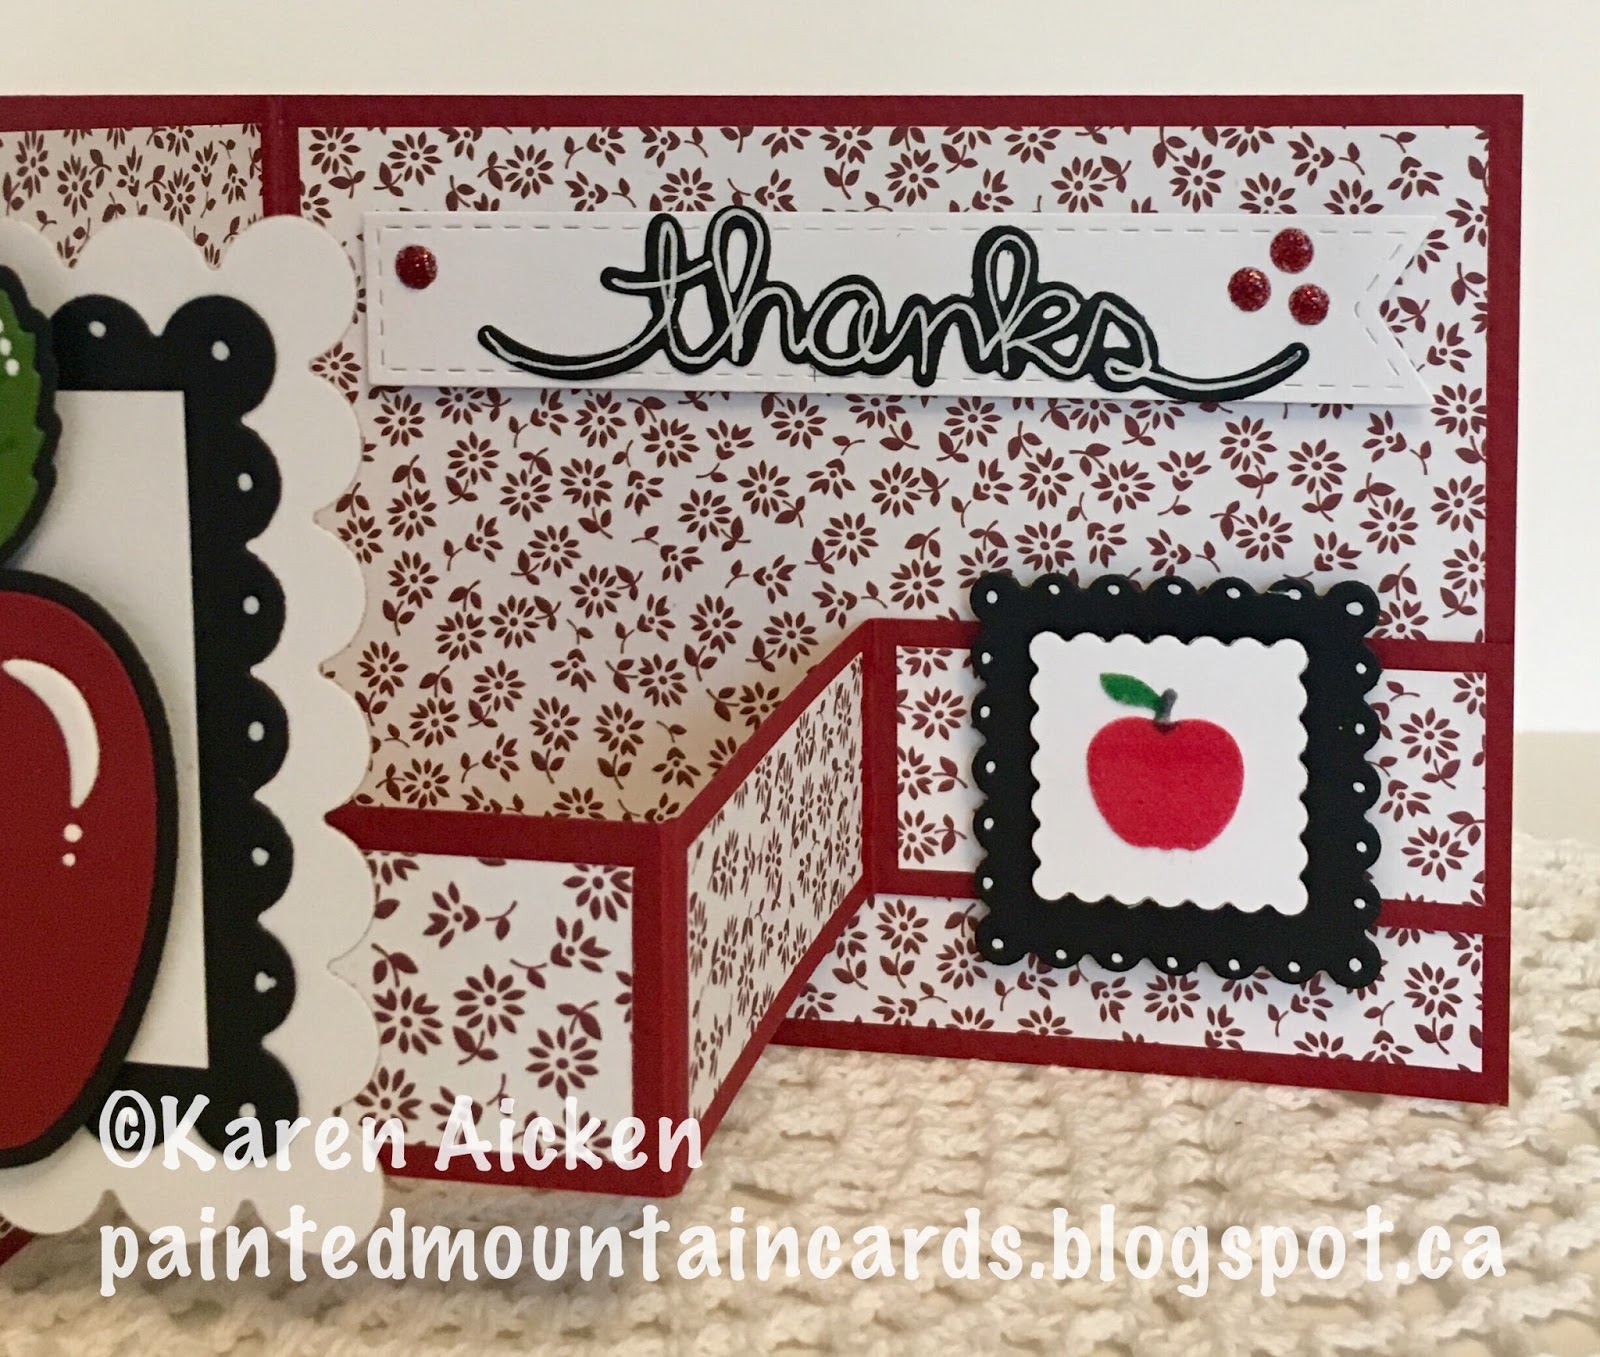
Good morning friends
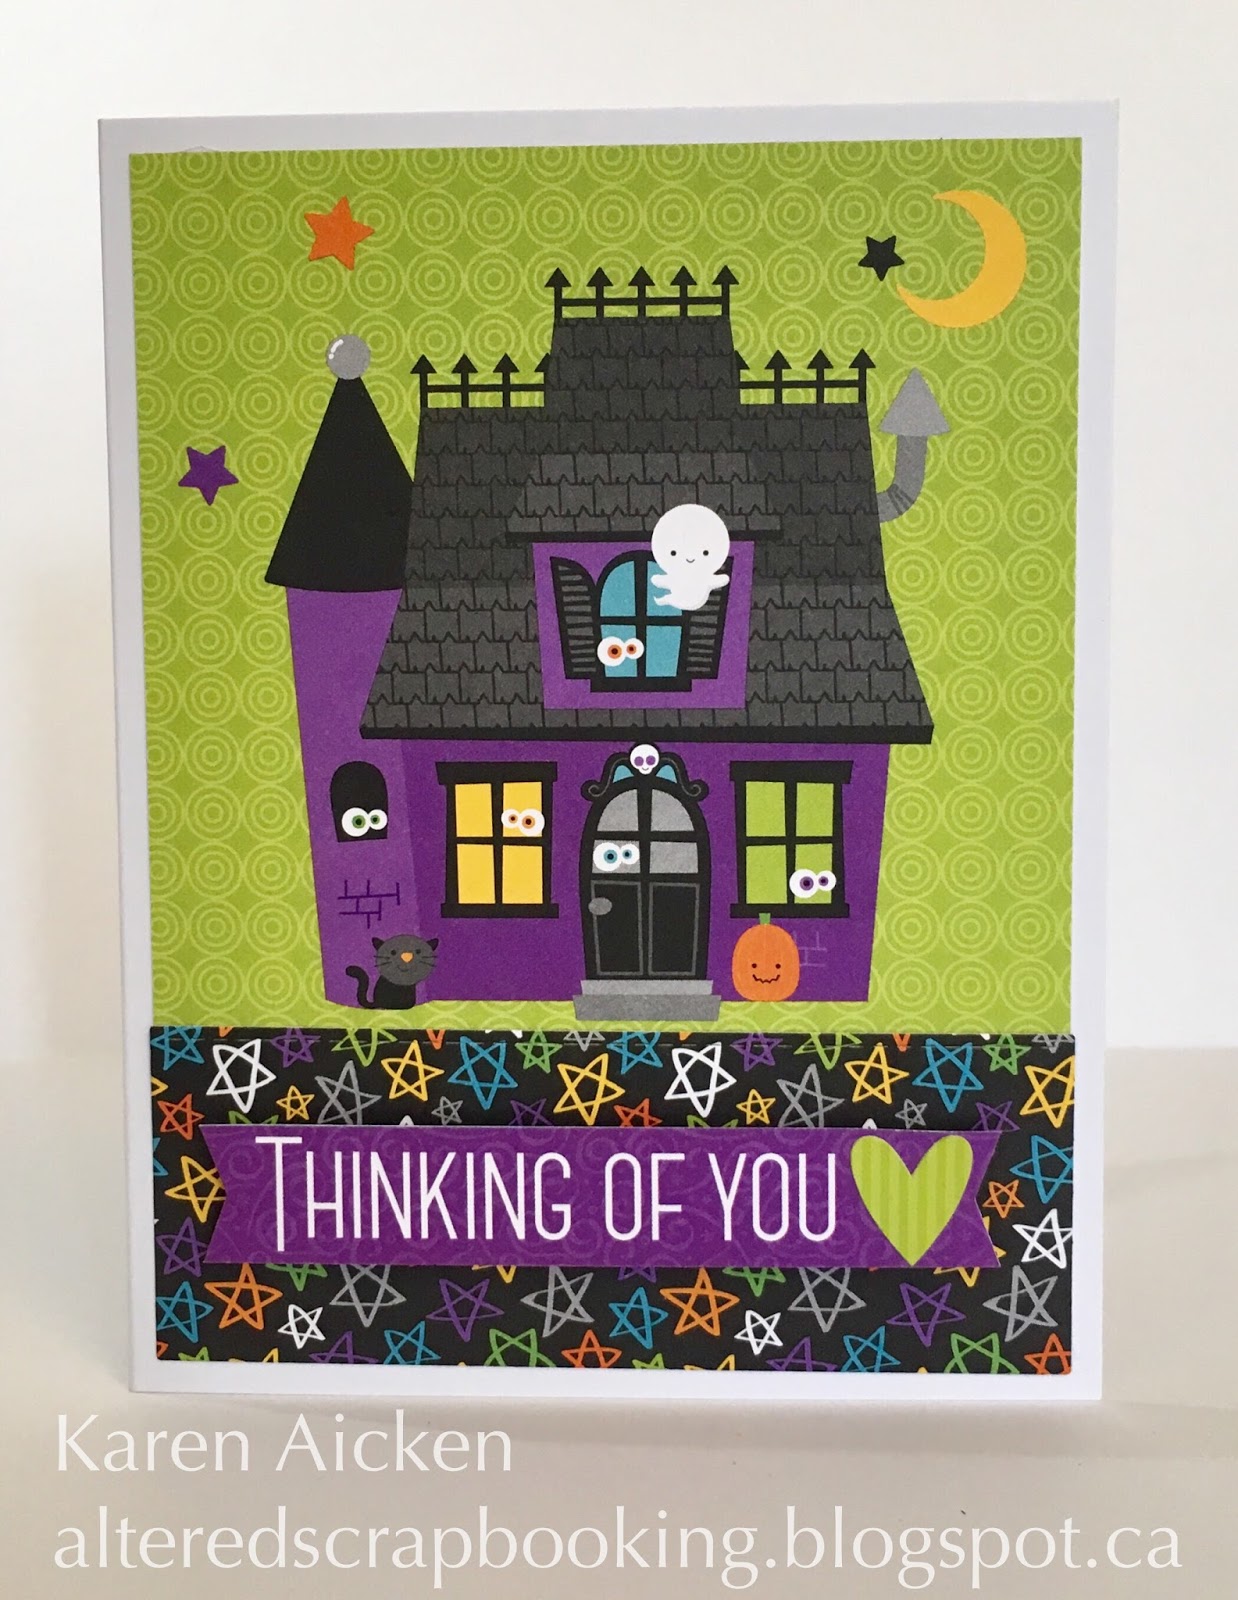
I have to say how much I'm enjoying Karen Burniston's new release and I'm not saying that because I'm on the Design Team. I love these dies! The Halloween Scene is actually a re-release of a set she had licensed last year. I was happy to see it again and pared it here with the tree from the Tree Pop-Up set.

I made the background with a combination of Colorbursts and Magical Shakers on 90# Water Colour Paper. The tree was cut from the centre and backed with purple patterned paper, then the panel was adhered to a top fold black card and embellished.


Here is the Pop-Up inside - I made it using the Tree Pop-Up platform. I cut it two times along the inner card fold then adhered the die cut graveyard to the two platforms for stability.

I used a white gel pen on the graveyard and a glaze pen on the edges of the inner card. That catches the light when the card is turned.

The Trick or Treat was hand lettered with an orange gel pen.


I really enjoy making Halloween cards!
Supplies:
90# Water Colour Paper
Color Burst - Ken Oliver
Magical Shakers - Lindy's Stamp Gang
Stitched square dies - Elizabeth Craft Designs
Black card stock
Patterned paper - Recollections
Sakura gel pens
Fun foam
Wink of Stella
Thanks for stopping by today